1. Design a wooden toy inspired by Leonardo Da Vinci.
2. Make a model of your toy.
Visual Reference Board: Bellow Prototypes:
I found this site useful in coming up with my method for building the bellows.
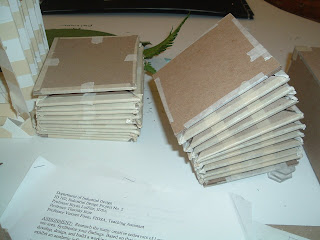
Here are my first bellow prototypes. For these ones I used an x-acto to cut out the trapezoids from poster board and masking tape and fishing line to connect them together.
Cutting fabric to cover the bellows:
 Here is a video showing the bellow action. I was kind of disappointed because the bellows ended up stretching less and less with each layer of fabric.
 Chipboard mockup of body:
 Two bellows done:
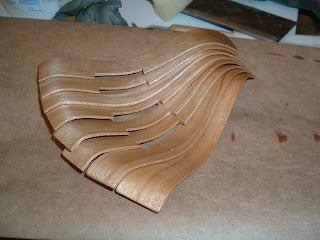
 I cut a bunch of plywood to the profile of my keyboard and glued them together to make a mold:
 Then I laminated 3 pieces of thin veneer together and stuck them in the the vacuum bag on top of my mold. I will use this to cut out my keys.
 The wood for my keyboard didn't quite take the full contour of the mold so I had to adjusted the end piece of the keyboard casing to match the new key profile.
 Here I've put together the keyboard and bass button casings and I have the bellows and unfinished keyboard resting in place. The edges of the casing are burnt because I cut out the wood on the laser cutter. On the keyboard I've masked off where I need to cut the wholes for the black keys. I've also got my unfinished sound ports resting on top.
 I sanded off the burned edges and gave the casings a rich bombay mahogany stain. I finished it off with two coats of high gloss polyurithane.
 The white keys stay their natural color and only need 2 coats of high gloss polyurithane finish.
 I modeled the sound ports out of a non-hardening wax-based modeling clay called plastaline. Then I spray painted them gold.
 This photo depicts a cross section of the keyboard action. I used fabric for the hinge and red foam to spring the depressed keys back. The dark keys are stationary for this model.


